
Your phone
Your phone talks to the same core as the panel, through the same protocol. It never gets the core’s own token: it trades a one-time code for a key of its own, which you can take back at any moment without touching anything else.
Open on your phone
Section titled “Open on your phone”The quickest way: click Open on your phone in the top bar (it’s also in your account menu). A QR appears.
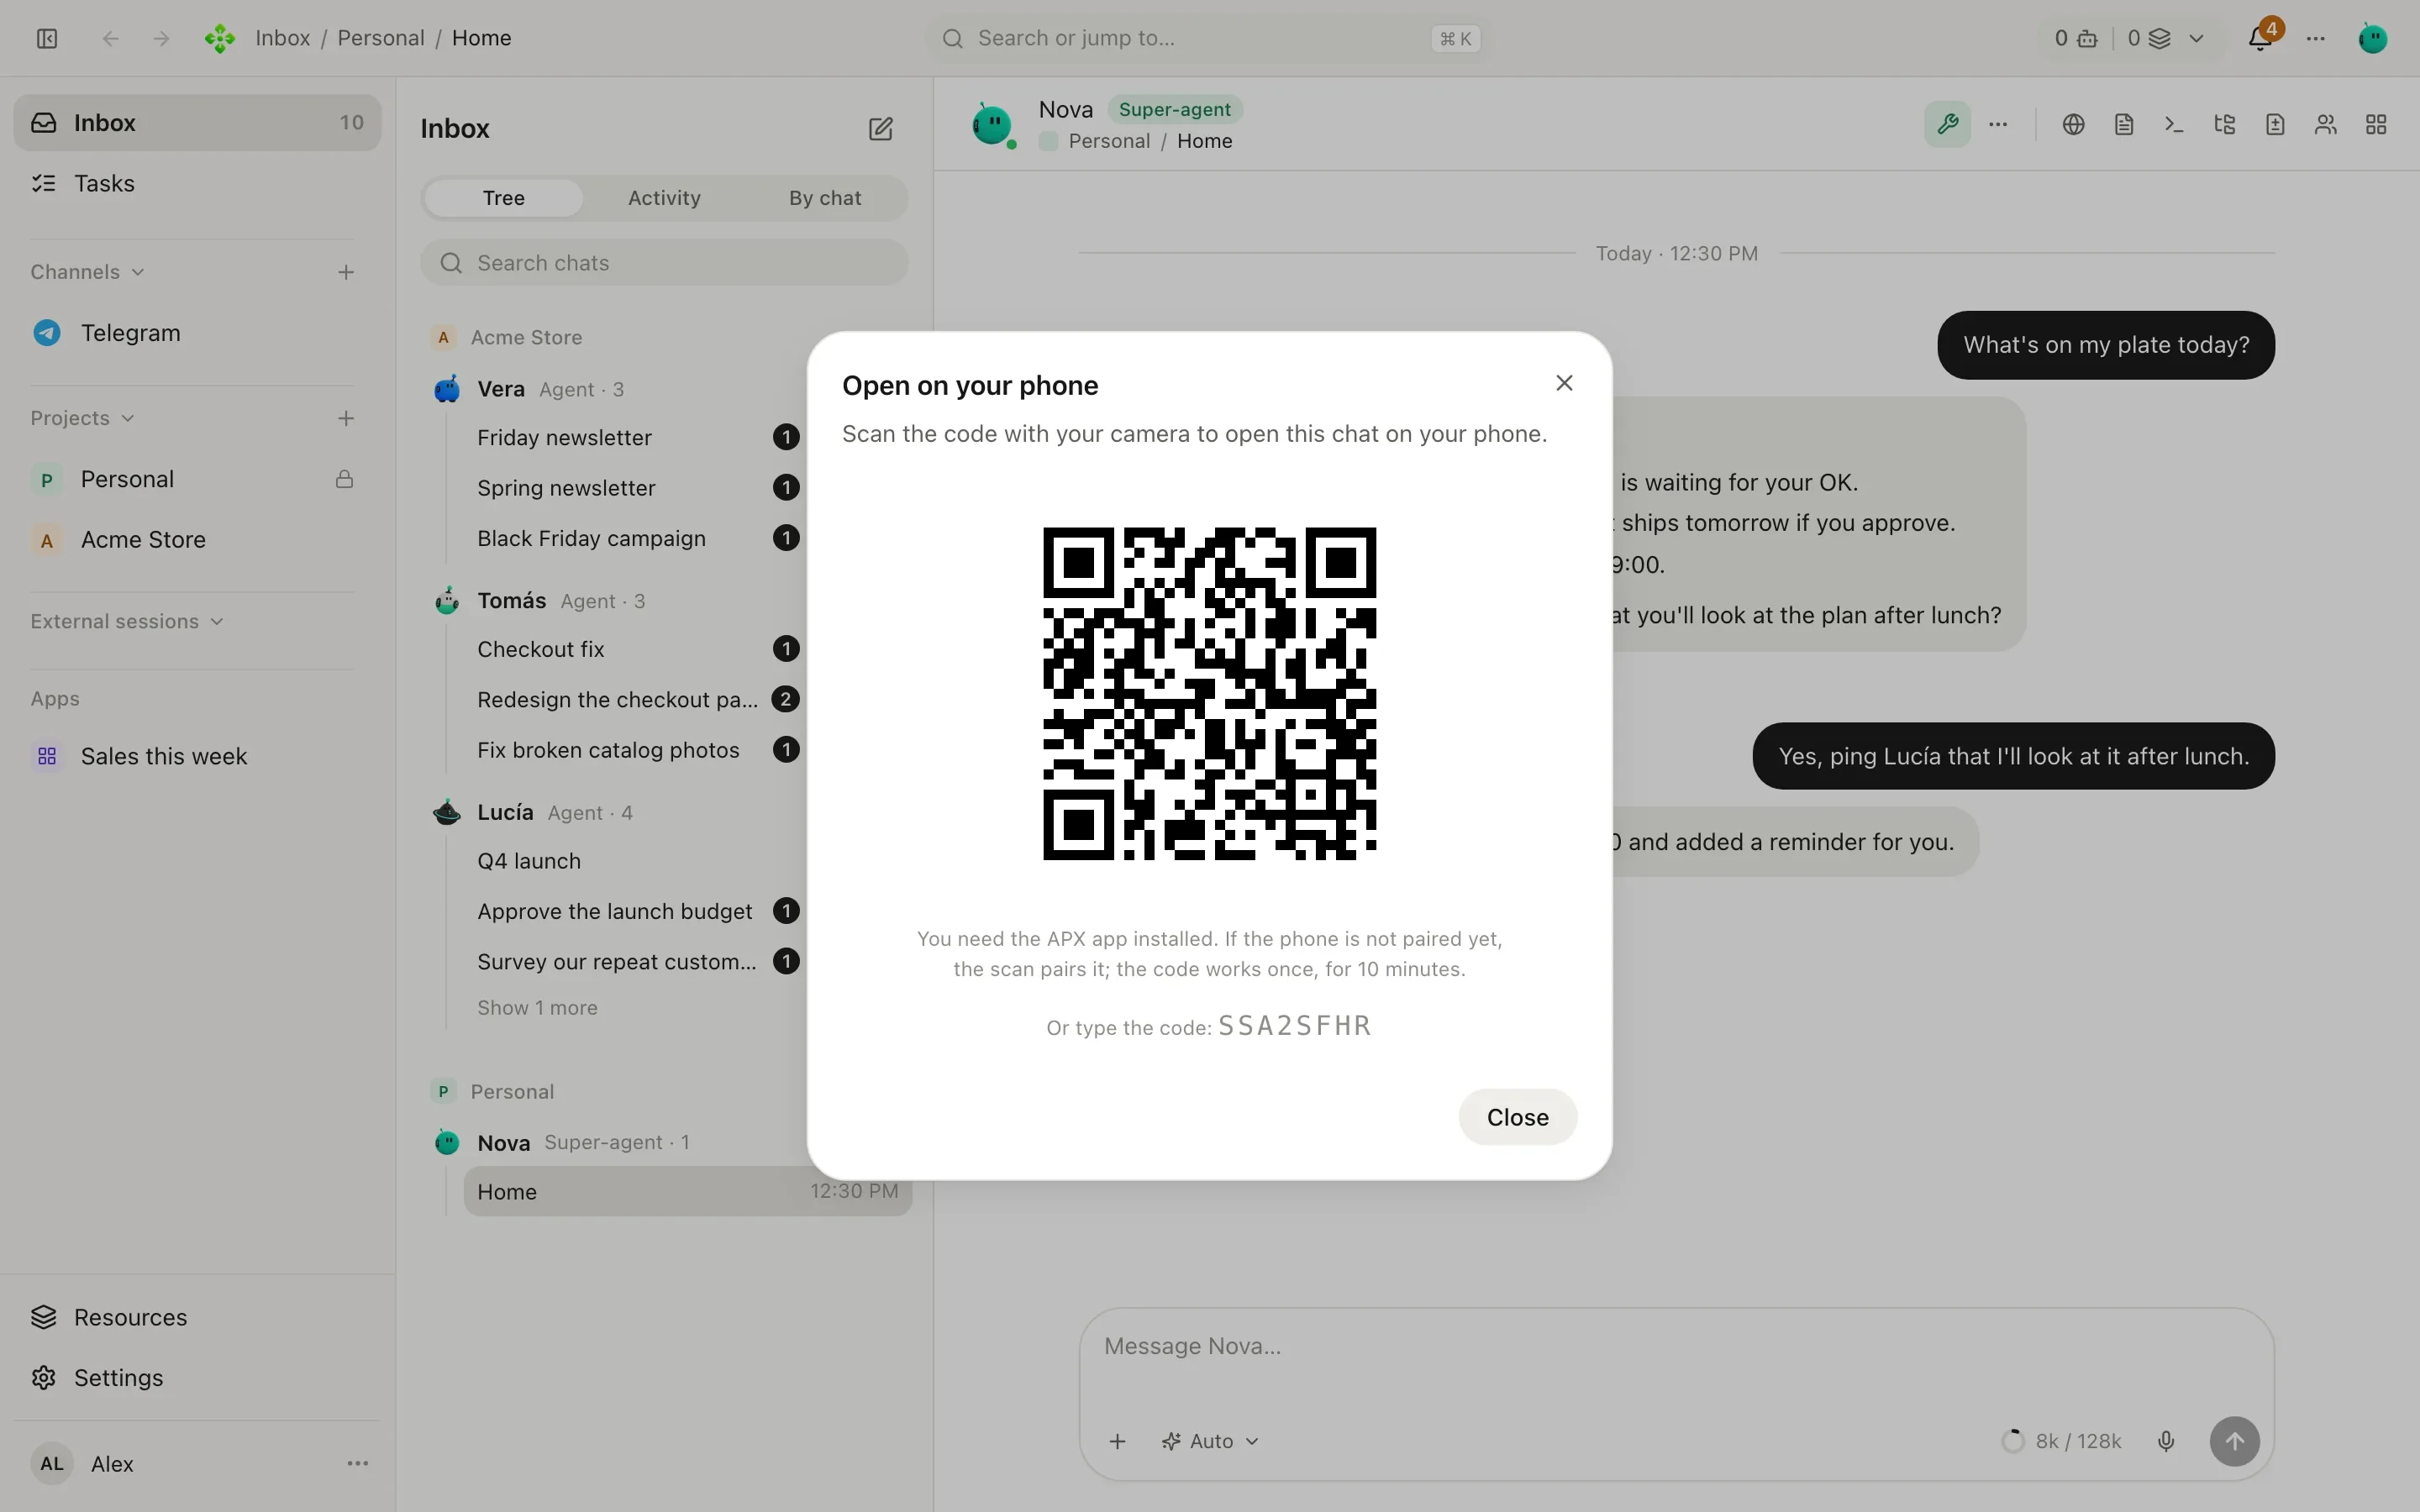
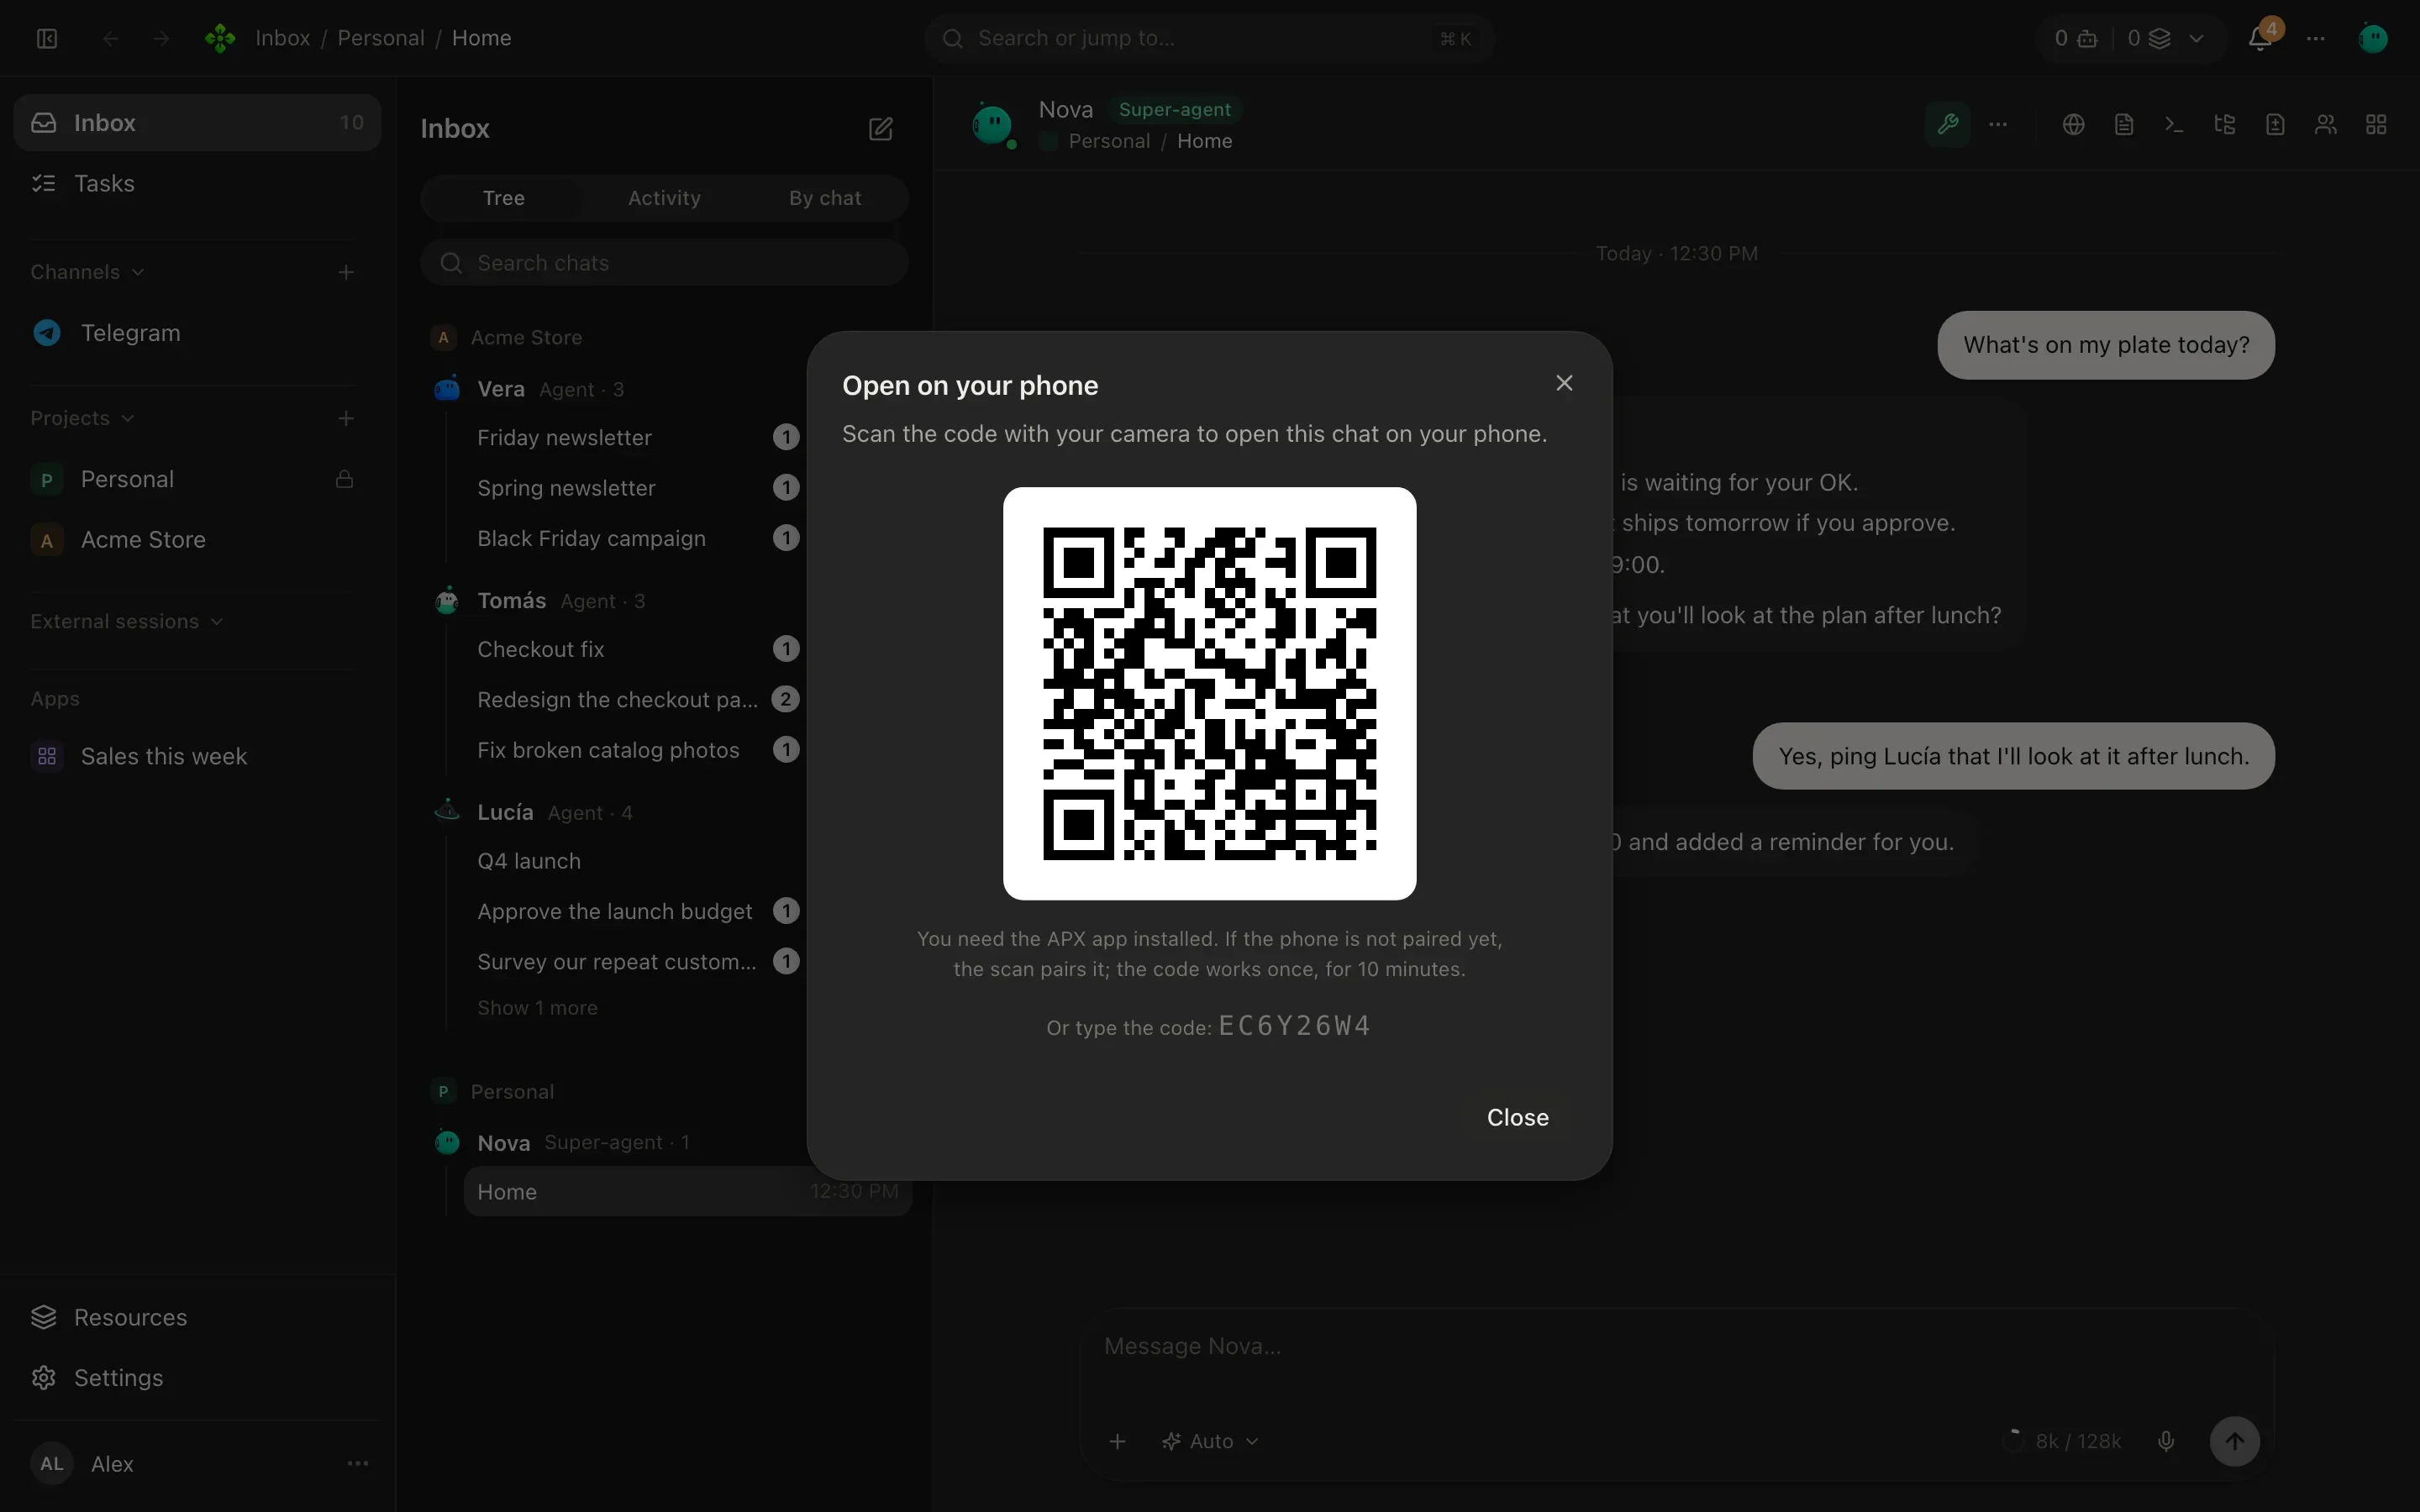
Scan it with the phone’s camera. It opens the APX app, pairs the phone if it isn’t paired yet, and opens the chat you were looking at. A phone already paired with this core just opens the chat.
The code under the QR works once, for 10 minutes. While the dialog is open APX renews it before it runs out, and closing the dialog voids it. If the core only listens on this computer, the dialog says Your phone cannot reach this core yet instead of showing a QR.
From the phone’s browser
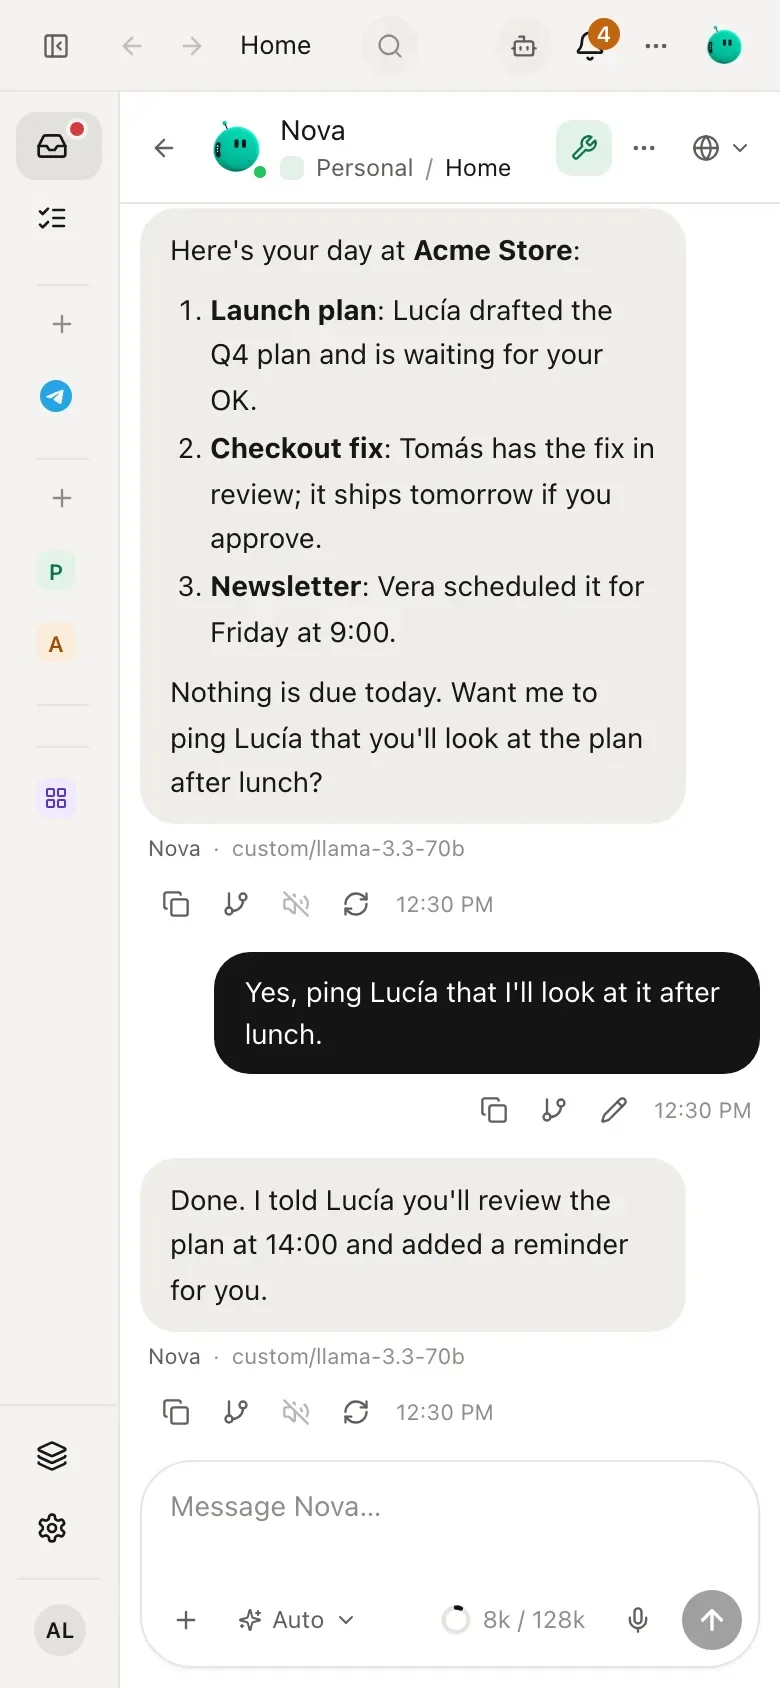
Section titled “From the phone’s browser”You don’t need the app to use the panel on a phone. Open the core’s address in the phone’s browser (the Tailscale
address, or the LAN one such as http://192.168.1.20:7440). The panel asks to Pair this device: type a code from
Settings › Connections › Devices › Pair a device or from apx pair, and the browser keeps its own key. The panel
adapts to the narrow screen.
Pairing codes and device keys
Section titled “Pairing codes and device keys”Every pairing works the same way, whether it’s a phone, a browser or another computer:
- The code has 8 characters, without look-alikes (no
0/O, no1/I), and lives 10 minutes in the core’s memory. Restarting the core voids pending codes. - It works once. The device trades it for a key of its own; the core stores only that key’s hash.
- Five wrong codes void every pending code and pause pairing for five minutes.
- The QR carries an
apx://pair?…link with the code and the addresses the core can be reached on. If you setAPX_PUBLIC_URL(a VPS or Tailscale address), it goes first.
You can make a code in three places:
- Open on your phone in the panel (also opens the current chat on the phone).
- Settings › Connections › Devices › Pair a device: a QR, the code and the addresses.
- The terminal, on the machine that runs the core:
❯ apx pair
Pairing code: ABCD2345
Expires at 10:40:00 (in about 10 min)

Addresses a device may reach this core on:
https://<machine>.<tailnet>.ts.net

In the APX app, open Pair and paste the link, or enter an address and the code:
apx://pair?c=ABCD2345&u=https%3A%2F%2F<machine>.<tailnet>.ts.net
See and revoke devices
Section titled “See and revoke devices”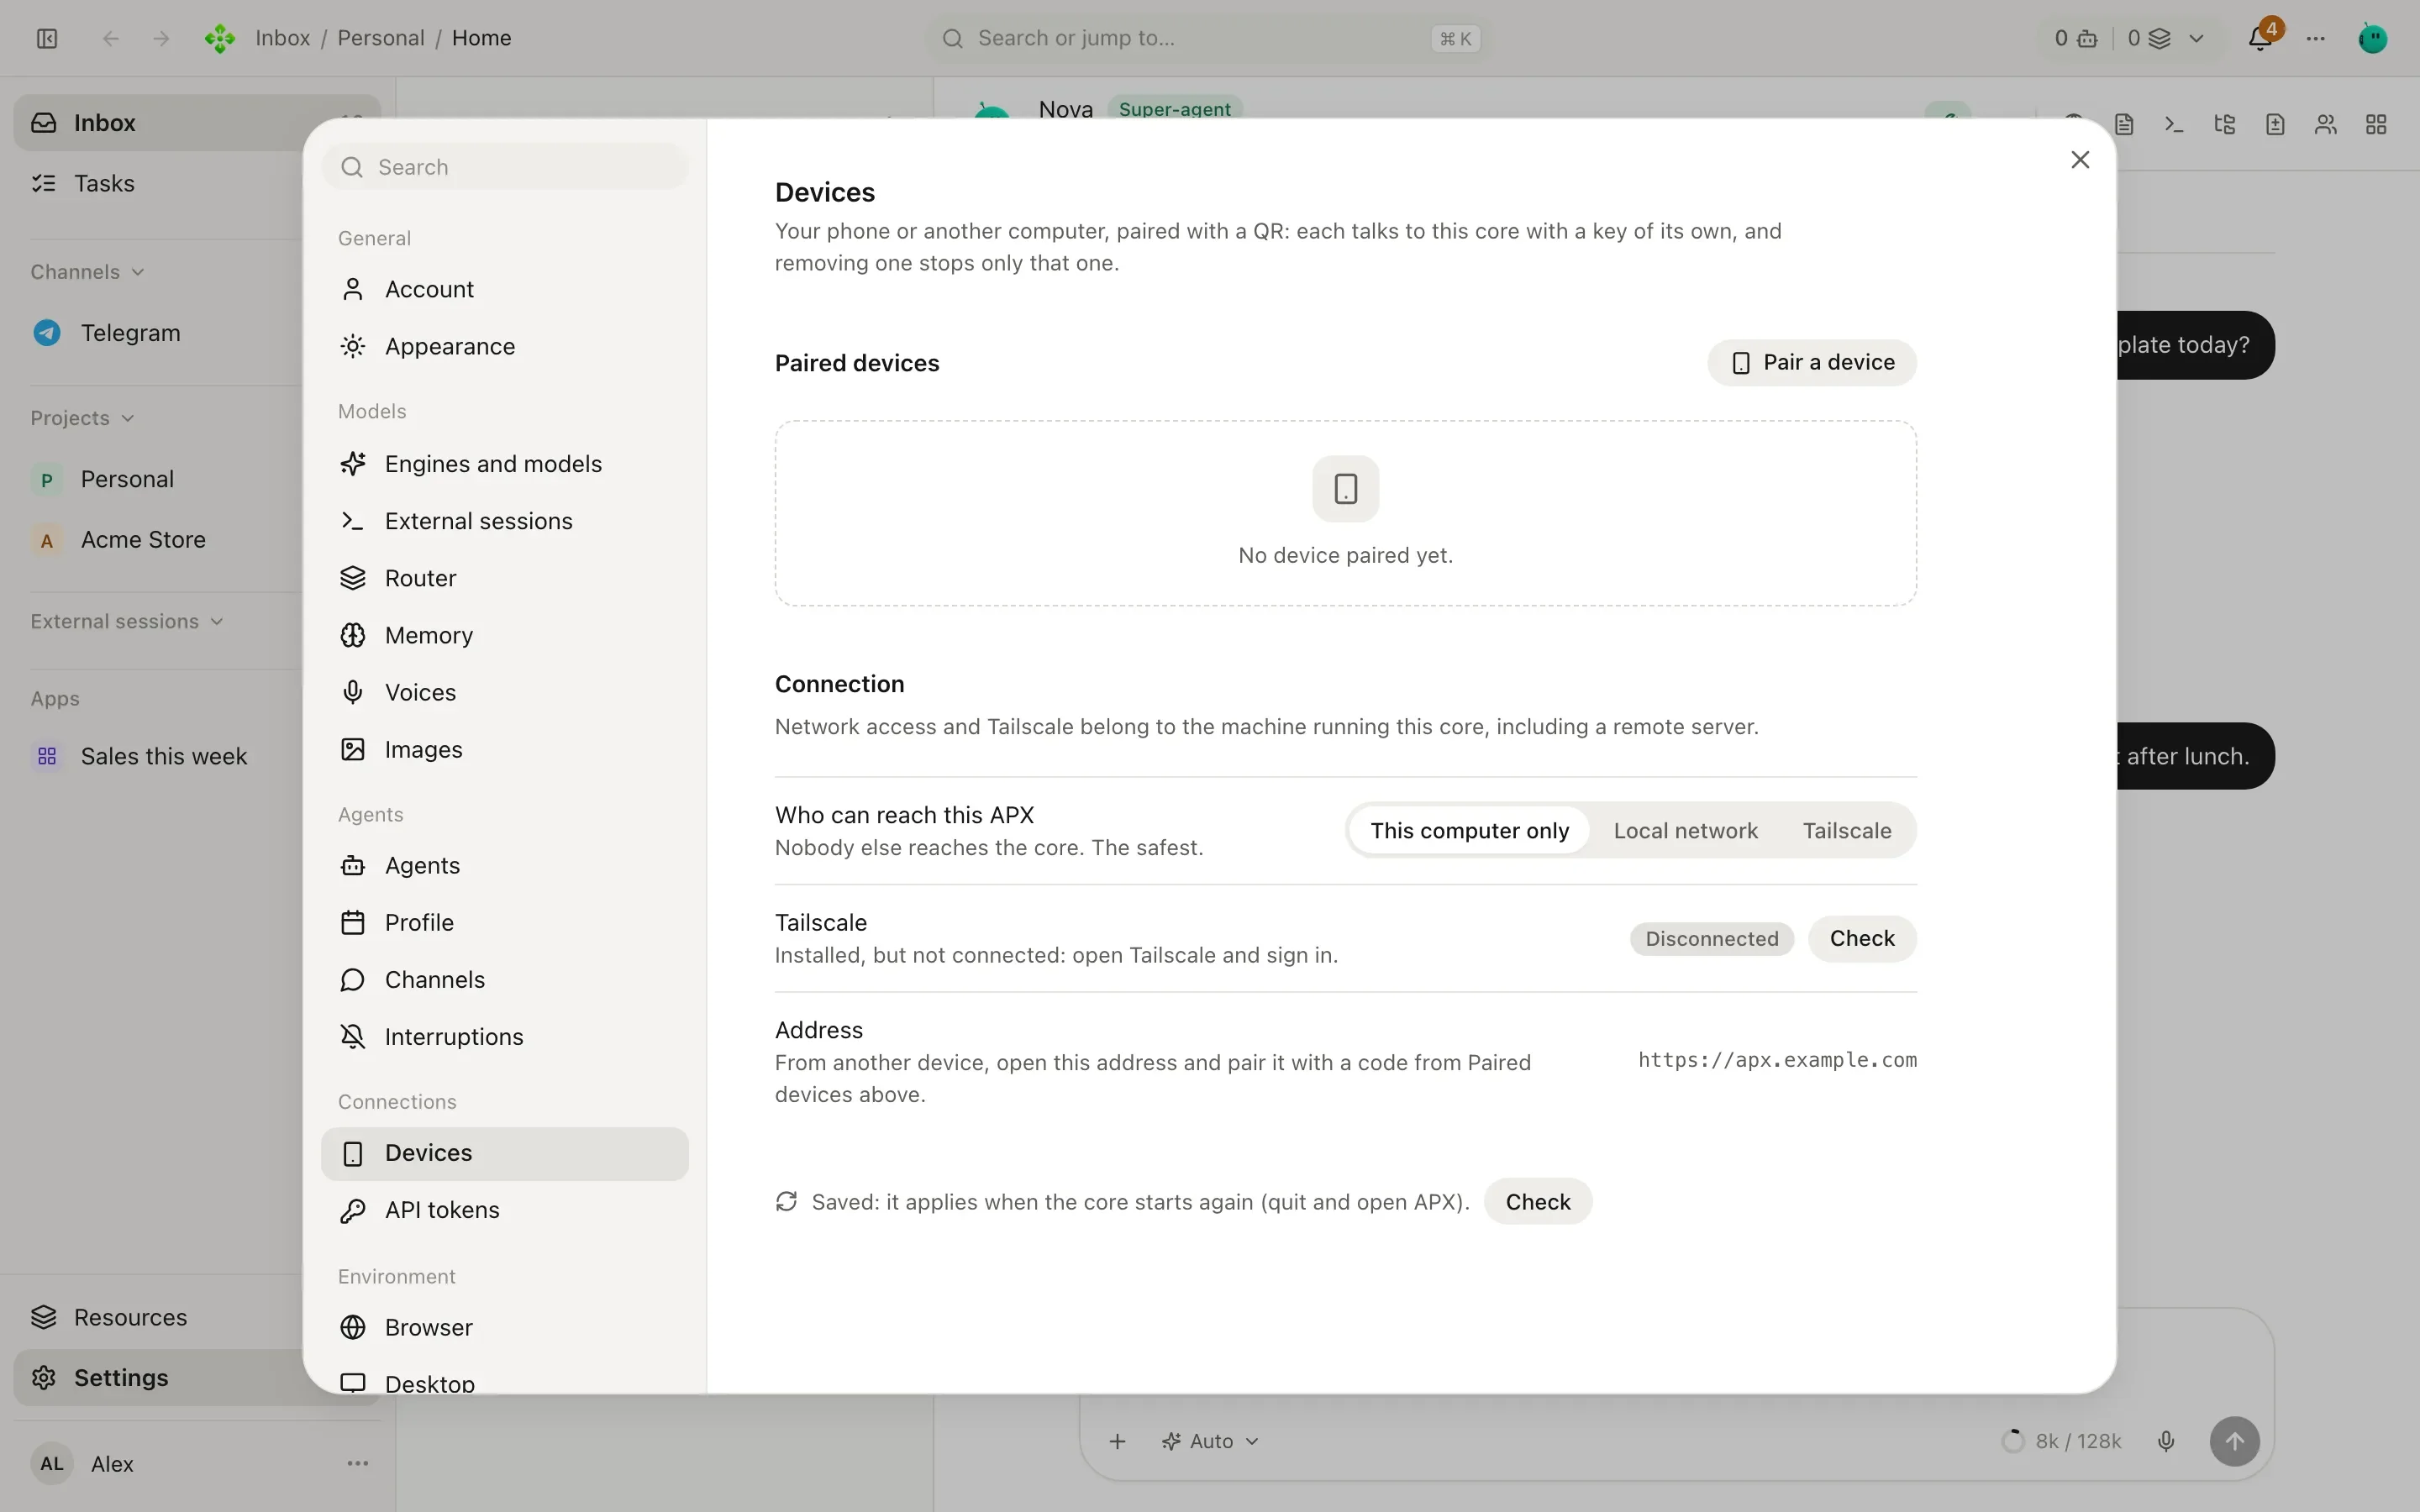
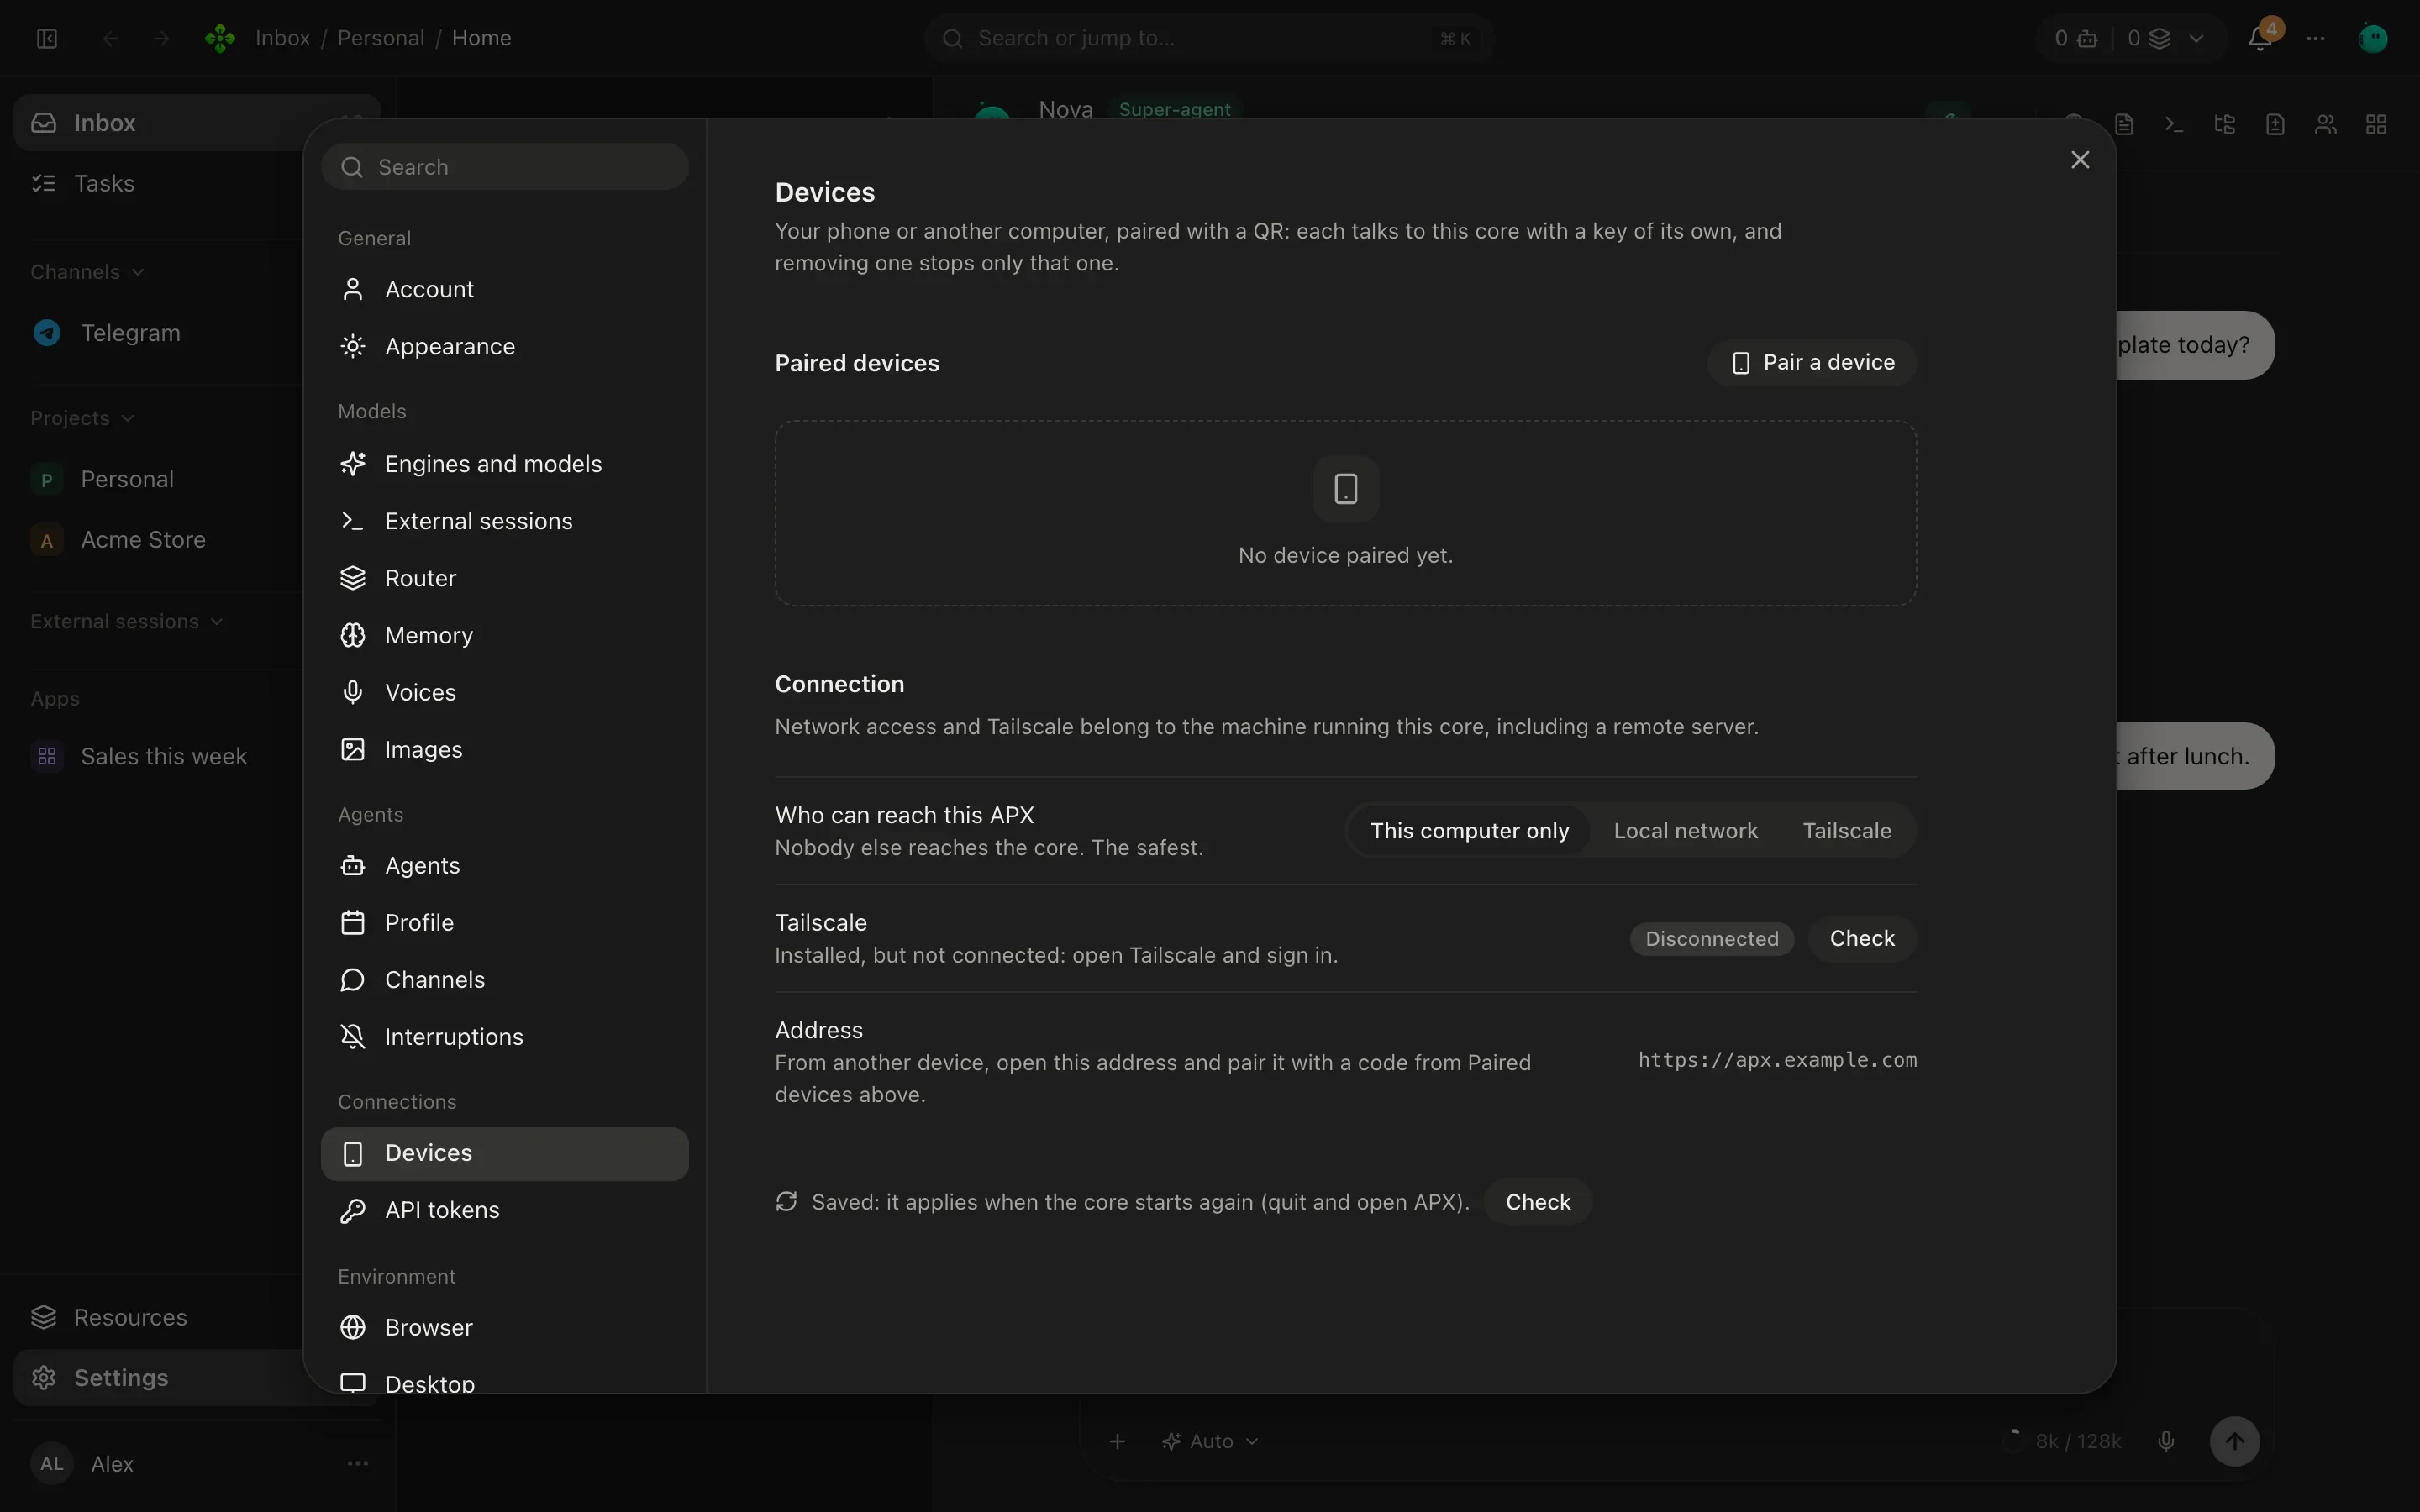
Settings › Connections › Devices lists every paired device with its platform and when it was last seen. The trash button (Remove) revokes that device: its key stops working at once, and only that one. A revoked phone goes back to the pairing screen.
From the terminal:
apx devices # list paired devicesapx devices pair # a new code (same as apx pair)apx devices revoke <id> # revoke one deviceThe APX app for phones
Section titled “The APX app for phones”Install it on Android
Section titled “Install it on Android”The Android app comes with every v2 release. It isn’t in Google Play yet, so you install the file yourself:
-
On the phone, open the v2 releases and, in the newest one, download
APX-<version>-android.apk. -
Open the downloaded file. The first time, Android asks you to allow installing apps from your browser (or from Files): allow it, go back and tap Install. If Play Protect warns that it doesn’t know the app, tap Install anyway.
-
Open APX and pair it, as in Open on your phone.
It installs beside APX v1’s phone app; the two don’t touch each other.
Updating. The app doesn’t update itself yet. When a new version is out, download its APK the same way and install it over the one you have: your pairing and settings stay. If Android says the app conflicts with one already installed, that one is a build you made yourself or a test build: uninstall it, install the release’s APK and pair again. From then on each release installs over the last one.
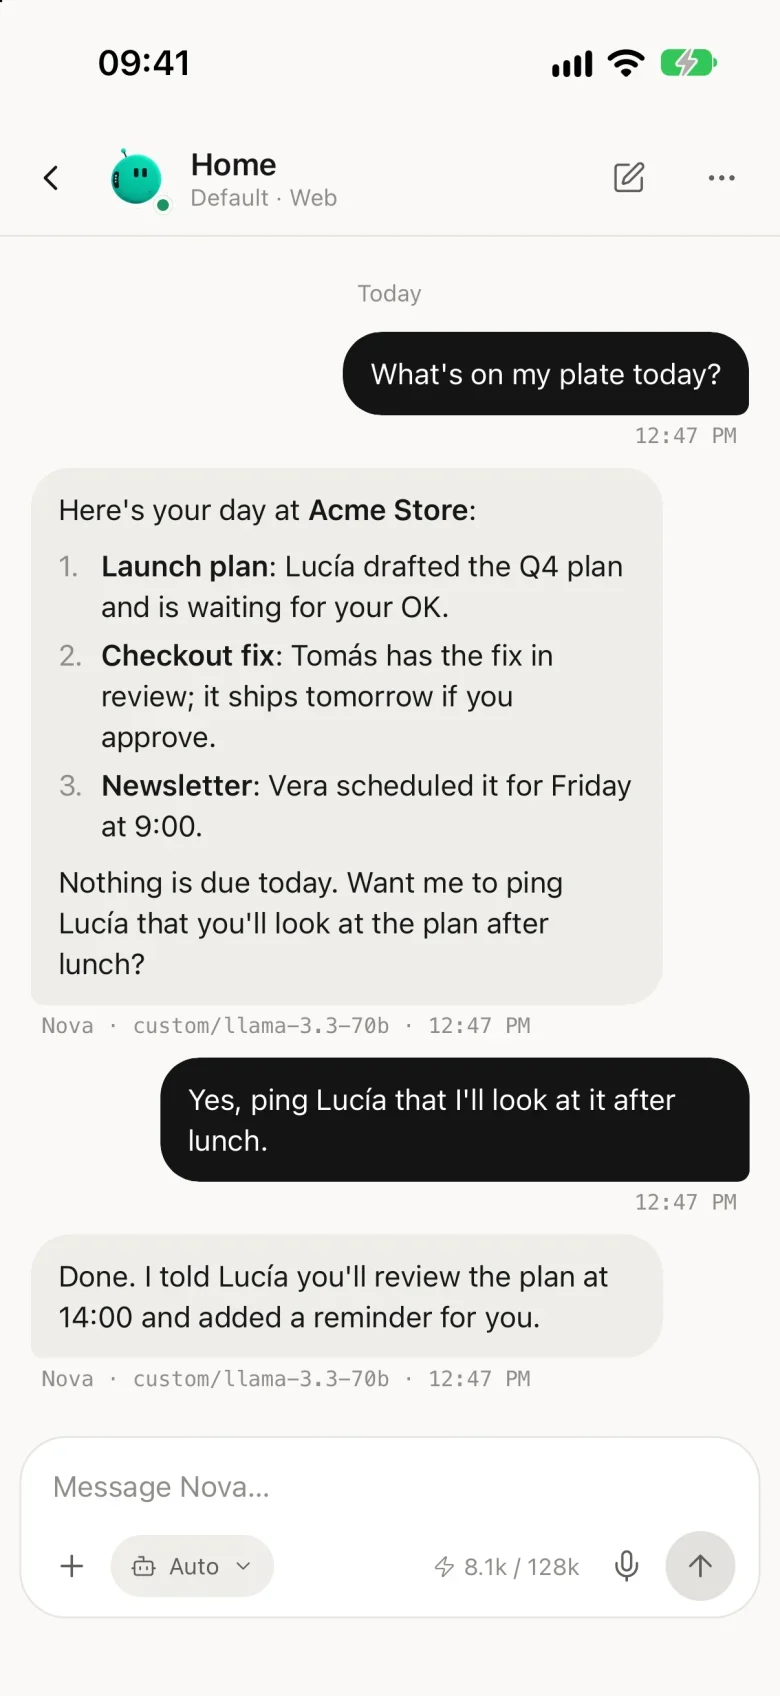
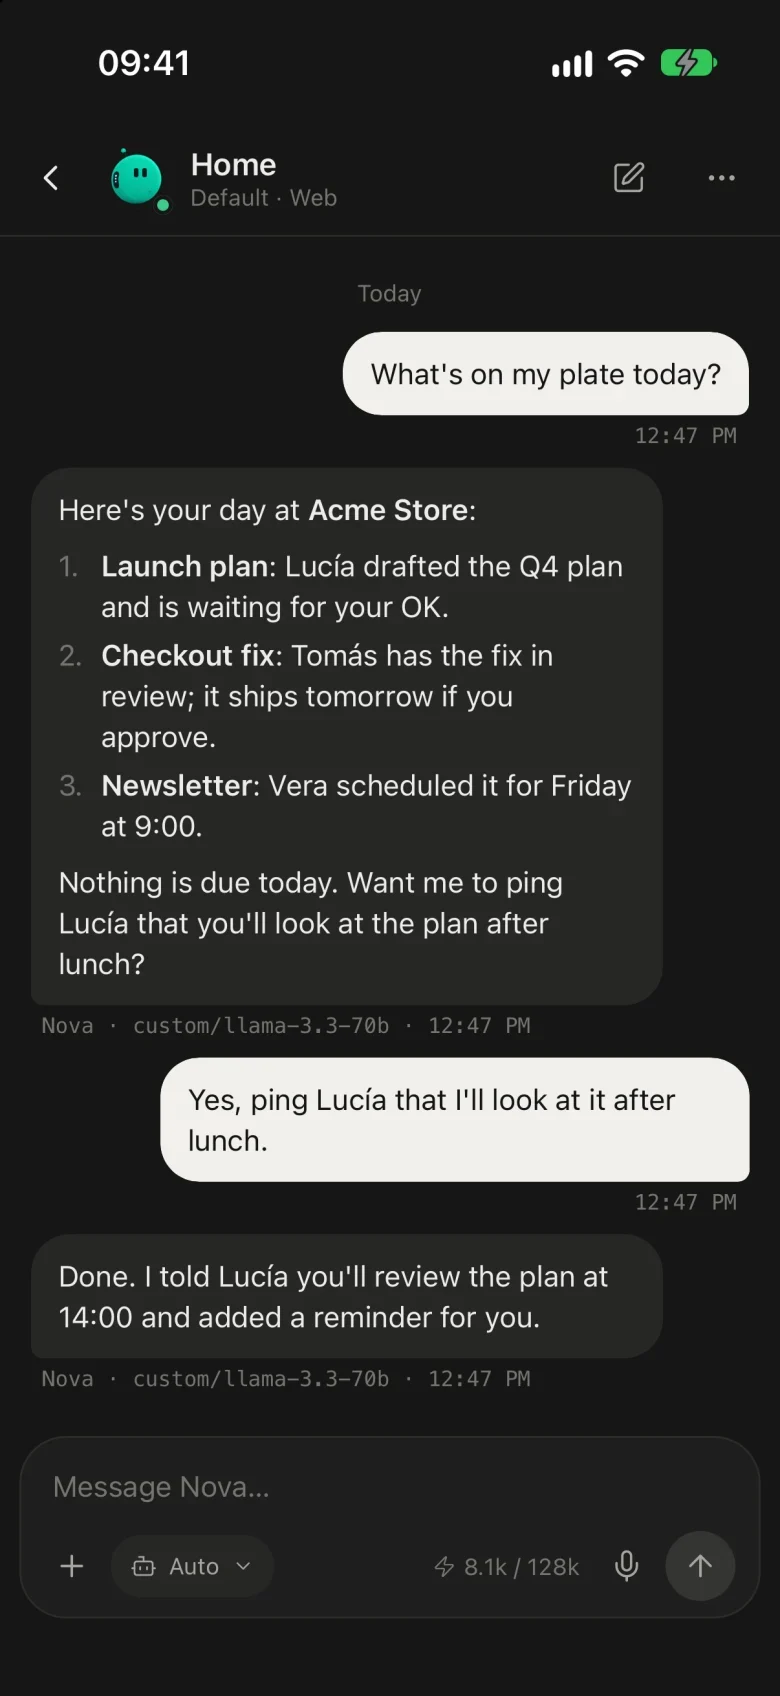
What it does once paired:
- Pairs by scanning the QR, opening an
apx://pairlink, or typing the address and the code by hand. It keeps its key in the system’s secure storage. - Shows your Home chat live, over the same socket the panel uses.
- Shows your pinned widgets and apps (the Apps button), each full screen, sandboxed the same way the panel does it.
- Lends the phone to the core as a node: agents get
phone_locationandphone_photo, but only while the phone is connected. A photo is always taken by you on the phone (the app shows why the agent wants it). Location asks the system’s permission once, and asks for your OK whenever outside content is in the turn. - Takes notifications, described next.
If you can’t reach the core, the app keeps its pairing for when it can. Unpairing (or revoking it in the panel) sends it back to the pairing screen.
To run it from a checkout:
cd apps/mobilenpm installnpx expo start # Expo Go or a dev build; the core must be reachable on the networkPush notifications
Section titled “Push notifications”The phone can be where your notices go, so routine news, reminders and questions from agents reach you even with the app closed.
-
Give the device a way to receive push. The APX app registers itself with Expo push when the build has an EAS project id. Otherwise, under the device in Settings › Connections › Devices, use Set up notifications and paste an ntfy or UnifiedPush address.
-
Pick the phone in Settings › Interruptions › Where notices go. It shows up as the device’s name followed by “(push)”.
The same interruption budget decides what reaches the phone: daily cap, quiet hours and the rest (Secretary). A device can only set its own push address, and the push token never goes back to any client.
Where to next
Section titled “Where to next”- Run APX on a server, to reach it from anywhere
- Desktop app
- Troubleshooting: pairing codes that don’t work